IFTTT and Intel Edison, Part 1: Pushbullet and Texts
As a way to create some interesting IoT projects I want to use the IFTTT (If This Than That) cloud service with the Intel Edison through node.js. Depending on latency and other unforeseen issues I am hoping to use this as a catch all IoT API framework. Turn on lights by tweeting at them! Turn on your fan when it gets hot! IoT! Stuff!
As a first effort and exploration of the APIs I created a button attached to the Intel Edison that sends out a text and an LCD screen that prints out the response text. I used the IFTTT server, Pushbullet, Websockets, and Node.js running on the Intel Edison to make this project work.
I used a very good tutorial for connecting an Arduino to IFTTT using node.js as a starting point: http://www.sitepoint.com/connecting-the-iot-and-node-js-to-ifttt/.
The mechanism for making this work is described below before going into the details of this project. The button and LCD are from the Grove Starter Kit (http://www.seeedstudio.com/depot/Grove-Starter-Kit-Plus-p-1294.html), but any can be used as long as they are supported by Johnny-Five.
Sending a Text:

Above is the flow diagram for sending a text via a physical button.
When the button is pressed the node.js app running on the Intel Edison registers this by using the Johnny-Five module (https://github.com/rwaldron/johnny-five). At this point Johnny-Five is also used to send out a message to the LCD screen displaying "Text Sent". There is no feedback from the IFTTT app on my phone to let me know if the text was actually sent or not yet.
Using the request module (https://github.com/request/request) I make a post to a IFTTT server url which acts as a trigger. This trigger tells the IFTTT server to connect to the IFTTT app on my phone and send a predetermined text message to a predetermined number. The IFTTT app then sends out the text using the phone's SMS.
Receiving a Text:

Above is the flow diagram for receiving a text message and printing it to the LCD screen.
The text is received by the IFTTT app on my phone. If the sender phone number matches the number that I sent the text to it sends a trigger to the IFTTT server.
The IFTTT server then pushes a note to the Pushbullet server which saves the note and sends a notification to it's websocket stream.
The node.js app on the Edison monitors the Pushbullet websocket stream using the Pushbullet API module (https://github.com/alexwhitman/node-pushbullet-api). When the app detects a new note from the stream it uses a GET request to pull the latest note from the Pushbullet server.
The note is a JSON object which is parsed and the body is sent to the LCD display via Johnny-Five with an asynchronous callback.
Setting up IFTTT
The first step is creating an account with IFTTT, installing the IFTTT app,
https://ifttt.com
https://play.google.com/store/apps/details?id=com.ifttt.ifttt&hl=en
Once you have created the accounts and downloaded the app to your phone you need to create a pair of recipes of IFTTT.
Send Text Recipe:
You will most likely have to connect to the Maker channel before you can use it as a trigger channel. Go to the "Channels" link and select "Maker" from the list. Once you have connected to the Maker channel you will get a "secret key", you will use this key to make web calls to IFTTT.

You will also have to connect the Android SMS channel. Navigate to the Channels and select Android SMS to connect. Follow the instructions presented.
You can now create a recipe with the Maker channel as the trigger and Android SMS as the action.
Create a new recipe and select Maker as the trigger. Give the trigger a descriptive event name. I'm using "text_button".

Create a trigger, and select the Android SMS channel. Enter in the phone number of the person you wish to message, as well as the message itself.
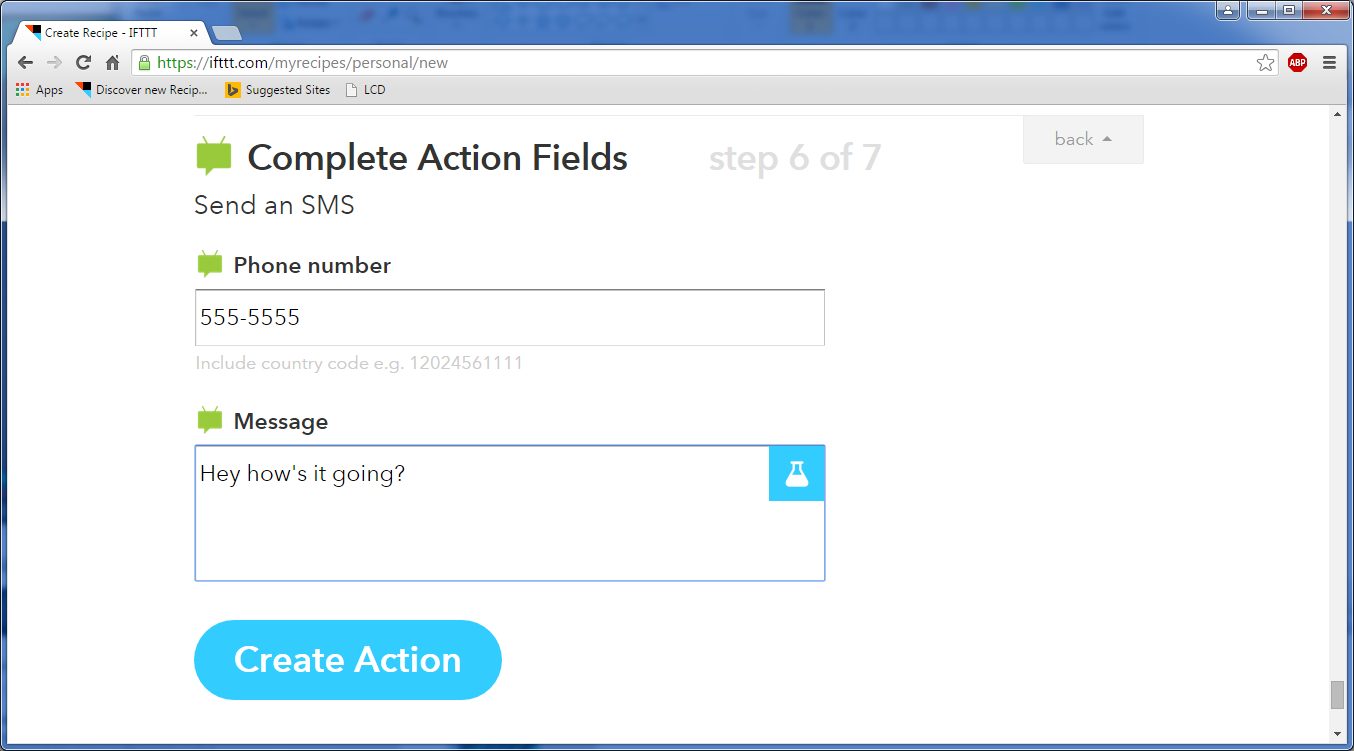
reate the action and finish the recipe.
Setup Intel Edison
If you haven't set up your Intel Edison please follow the instructions at: https://software.intel.com/en-us/iot/library/edison-getting-started
The rest of this post will assume that you are connected to a WiFi network, know how to connect to your Edison over serial, load and run node.js scripts.
If you are using the Grove Starer Kit plus plug in the sensor shield into the Arduino breakout board pins, plug the button into the D4 socket, and the LCD into one of the four I2C sockets. Plug in both USBs into your computer.

Node.js Code, Part 1
In order to trigger an event with the Maker channel you make a POST or GET request to your Maker url:
https://maker.ifttt.com/trigger/{event}/with/key/{your secret key}
The {event} is the name you gave when creating the trigger, text_button in my case; {your secret key} is your secret key from when you connected to the Maker channel.
In order to make a POST I used the request module for node.js: https://www.npmjs.com/package/request
To install request globally on your Edsion connect over serial and enter:
npm install request -g
In order to recieve input from the button and send data to the LCD screen I used the Johnny-Five and Edison-io module.
To install these modules globally enter:
npm install johnny-five -g
npm install edison-io -g
With these modules installed you can load and run the first part of the node.js code.
var request = require('request'); //load request
var five = require('johnny-five'); //load johnny-five
var edison = require('edison-io'); //load edison-io
var board = new five.Board({       //create a board object
        io: new edison()
});

board.on("ready",function() {               //enable board

        var touch = new five.Button(4);     //create button object at pin 4

        var lcd = new five.LCD({            //create "JHD1313M1" LCD object
        controller: "JHD1313M1"
        });

        touch.on("press", function() {      //create function to run on button press
        console.log("text sent!");          //console output for button press

        lcd.cursor(0,0).print("text sent!");//LCD output for button press
        ifttt_trig();                       //launch function to POST to IFTTT
        });

function ifttt_trig() {     //define function to POST to IFTTT
    request.post({          //request module used to POST
    url: "https://maker.ifttt.com/trigger/text_button/with/key/{your secret key}"
    });
}
Launch the program, wait a few seconds for everything to initialize, and press the button to send your text. I suggest using your number for testing purposes to avoid annoying your friends or family.


Setting up Pushbullet and Second Recipe
Now we will move on to setting up the incoming text handler.
First of all you must create a Pushbullet account so that you can tap into their Websocker stream.
As a side note: using Pushbullet is probably not the most efficient way of achieving the goal of this project. You could probably run a http server on the Intel Edison that the IFTTT Maker channel can make a POST to. I had trouble with this as I am behind a router and it was easier to use the Pushbullet Websocket stream instead. In any case the additional API layer makes the project more informative and interesting in my opinion.
Go to https://www.pushbullet.com/ and sign up for an account. Once you have an account go to Settings > Account to get your access token. You will use this token to access the Websocket stream.
Once you have a push bullet account go back to your IFTTT channels, https://ifttt.com/channels, and connect to Pushbutton.

Once connected create a new recipe using Android SMS as the trigger channel and "New SMS received from phone number" as the trigger. Enter the number that you want the IFTTT to trigger on, in this case the same number that your button will send a text to.

Select Pushbullet as the action channel and "Push a note" as the action. You can leave the title field as the default but leave only the {{text}} field in the message to make it easier to parse the message later.

Create the recipe.
Node.js Code, Part 2
Before writing the second part of the code you must install the Pushbullet API module: https://github.com/alexwhitman/node-pushbullet-api
npm install pushbullet -g
You can find the complete documentation on the Pushbutton Websocket stream API at: https://docs.pushbullet.com/#stream. However the module automates a lot of the process and does not require you to read the documentation. In short:
The pushbullet module will connect to the Websocket stream using your Pushbullet token.
The Websocket stream will listen for "tickles" from the Pushbullet server. A tickle means that a new message has been pushed to the server.
Once a tickle is detected the Pushbullet module will request the latest push to the server using a GET to https://api.pushbullet.com/v2/pushes.
The server will return a JSON object which is parsed to display the body, or the incoming text message, through response.pushes[0].body. Where response is the JSON object returned.
It should be noted that since the GET will takes some time to complete you must use an asynchronous callback function in order to prevent your code form printing "undefined" to the LCD. If you are unfamiliar with callbacks I would suggest reading through the great overview at:
https://github.com/maxogden/art-of-node#callbacks
Below is the complete commented code:
var request = require('request'); //load request
var five = require('johnny-five'); //load johnny-five
var edison = require('edison-io'); //load edison-io
var board = new five.Board({       //create a board object
        io: new edison()
});

var PushBullet = require('pushbullet'); //load pushbullet
var pusher = new PushBullet('your token here'); //create a new pushbullet object connected to your token, you must enter your token here
var stream = pusher.stream(); //create a new websocket stream object

board.on("ready",function() {               //enable board

        var touch = new five.Button(4);     //create button object at pin 4

        var lcd = new five.LCD({            //create "JHD1313M1" LCD object
        controller: "JHD1313M1"
        });

        touch.on("press", function() {      //create function to run on button press
        console.log("text sent!");          //console output for button press

        lcd.cursor(0,0).print("text sent!");//LCD output for button press
        ifttt_trig();                       //launch function to POST to IFTTT
        stream.connect(); //connect to the websocket stream

        stream.on('message', function(message) { //on recieving a message from the stream do...
                console.log('stream recived message'); //print 'stream recieved message'
                console.log(message.type); //print the type of message
                if (message.type == 'tickle') { //if the message is a 'tickle'...
                getHistory(dispLCD); //run the getHistory function with dispLCD function as the callback
                }
});

        });

function ifttt_trig() {     //define function to POST to IFTTT
    request.post({          //request module used to POST
    url: "https://maker.ifttt.com/trigger/text_button/with/key/{your secret key}"
    });
}

var ret = undefined; //define the variable ret as "undefined"

function getHistory(callback){ //define the function getHistory with a callback function as input
var options = { limit: 1 }; //set the limit of pushes to return to just the last 1
pusher.history(options, function(error, response) { //send the GET request to the pushbullet server
ret = response.pushes[0].body //set ret to the body of the returned JSON object
        callback() //run the callback function
        })
}

function dispLCD() { //define dispLCD, the callback function
    var lcd = new five.LCD({ //create a LCD object in the same way as above
        controller: "JHD1313M1"
    });
    lcd.cursor(0,0).print(ret); //print out the body of the text, ret
    console.log('dispLCD:' + ret); //print out the body of the text to console
}
That's it. Launch the code on your Edison and you now have a handy one button text machine! While fairly useless as a final product, this project demonstrates the fairly simply way in which you can link multiple events and APIs into a single project. I hope to use this as groundwork to create a more useful product soon.